Introducing Order Bump and One-Click Upsell Recovery Feature in FunnelKit Automations.
The Stripe Order Bump and Upsell Recovery feature in FunnelKit Automations is a powerful tool to recover lost revenue when customers reject upsell offers or order bumps during checkout.
We’ll help you outline this document's setup and usage process, helping you recover abandoned offers seamlessly.
Let’s say a shopper adds an item to their cart, goes to the checkout page, rejects the order bump, and proceeds to purchase.
In this case, we’ll create a separate funnel exclusively for offers to recover the order bump.
How To Set Up Order Bump and One-Click Upsell Recovery Feature in FunnelKit Automations
Follow these steps to set up order bump and one-click upsell recovery feature in FunnelKit Automations:
Step 1: Setting up Stripe for automations
Navigate to Tools ⇨ Connectors and make sure to connect your Stripe account.

It’ll start the Stripe-WooCommerce integration process.
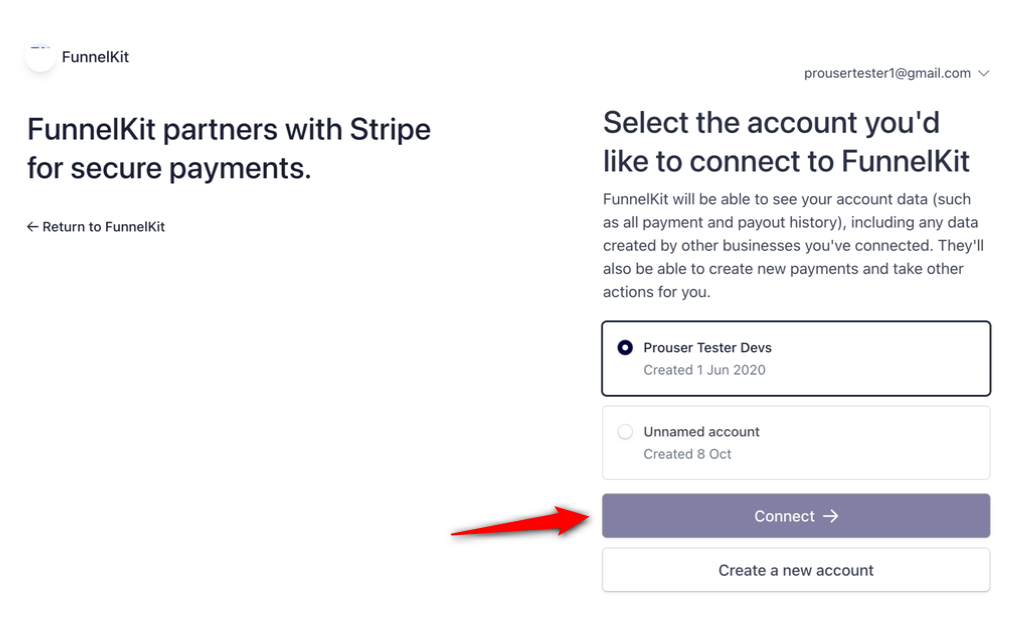
Next, select your Stripe account and click Connect.
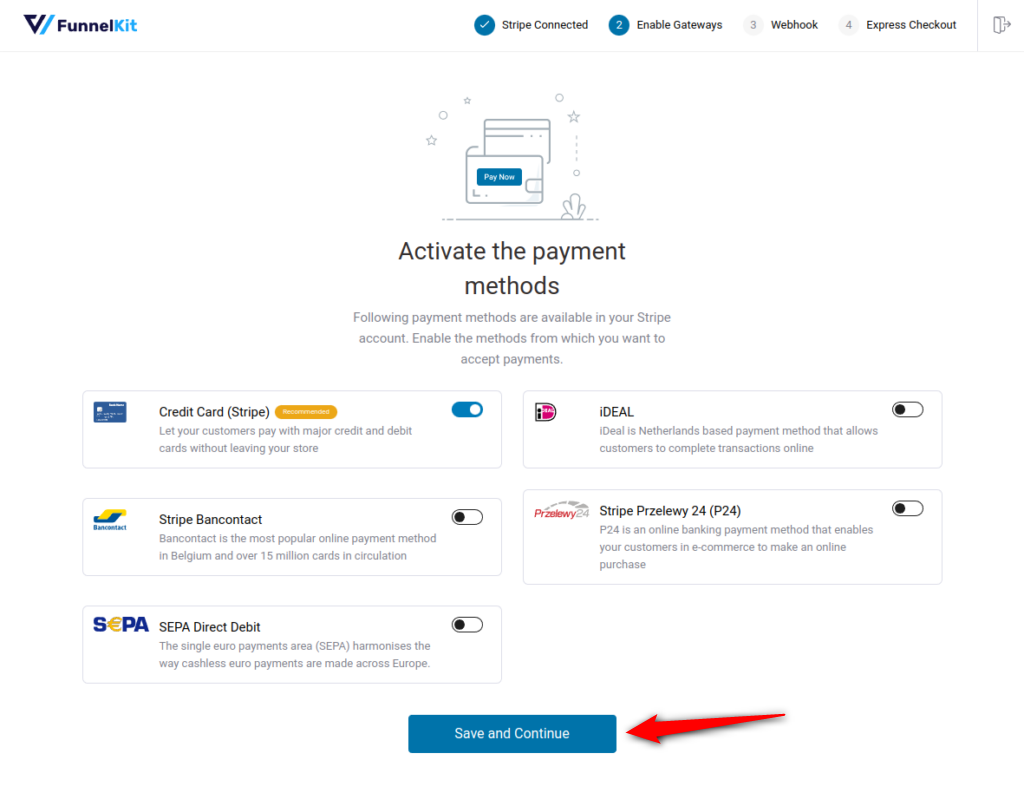
Next, activate the payment methods and hit Save and Continue.
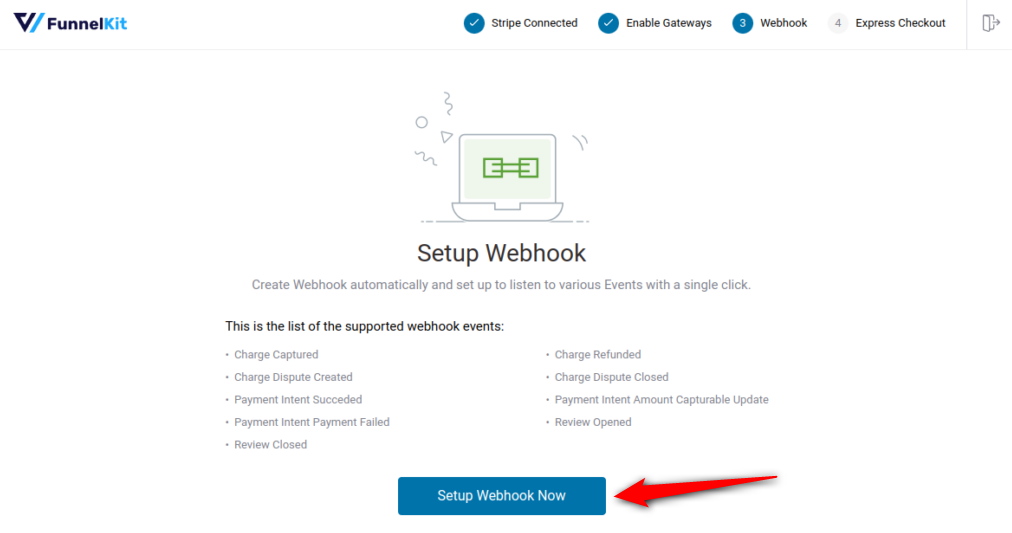
Next, click on Setup Webhook Now.
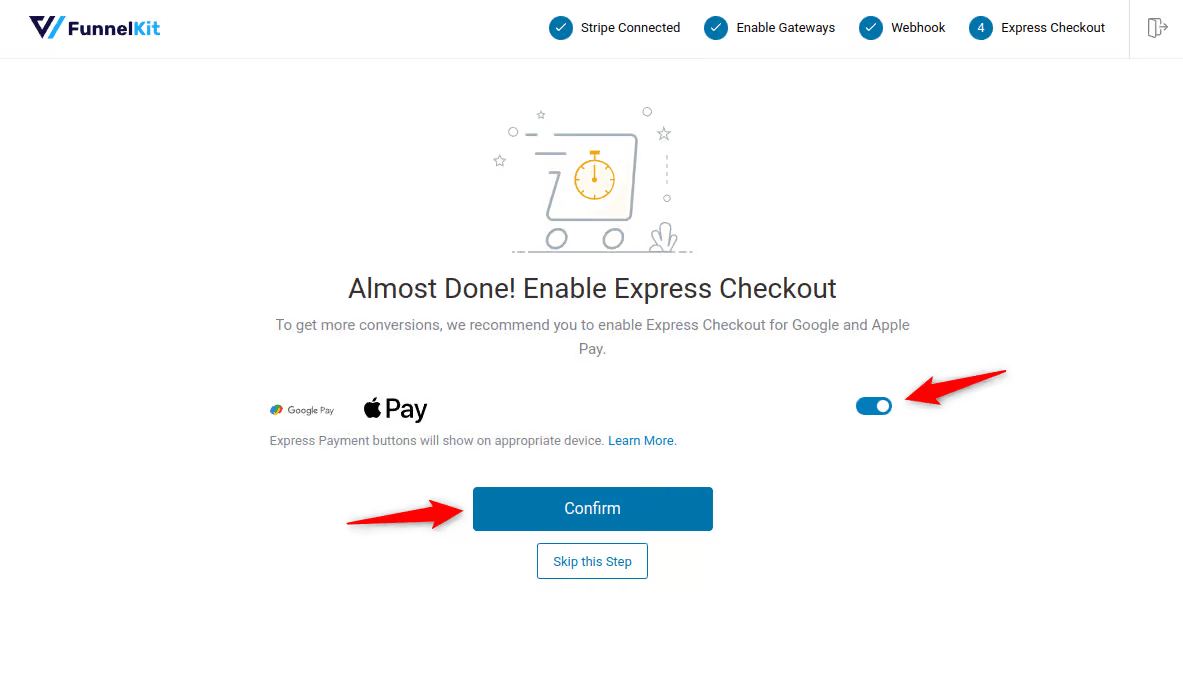
Next, it will ask you to enable express checkout. This is an optional step—you can keep it enabled or disabled according to your needs.
Finally, put the Stripe to test mode and hit the Save and Review Settings button.

This will successfully fetch all the Stripe details to your WooCommerce store.
Go to the Connectors tab again and click Connect next to Stripe to refresh the integration status.
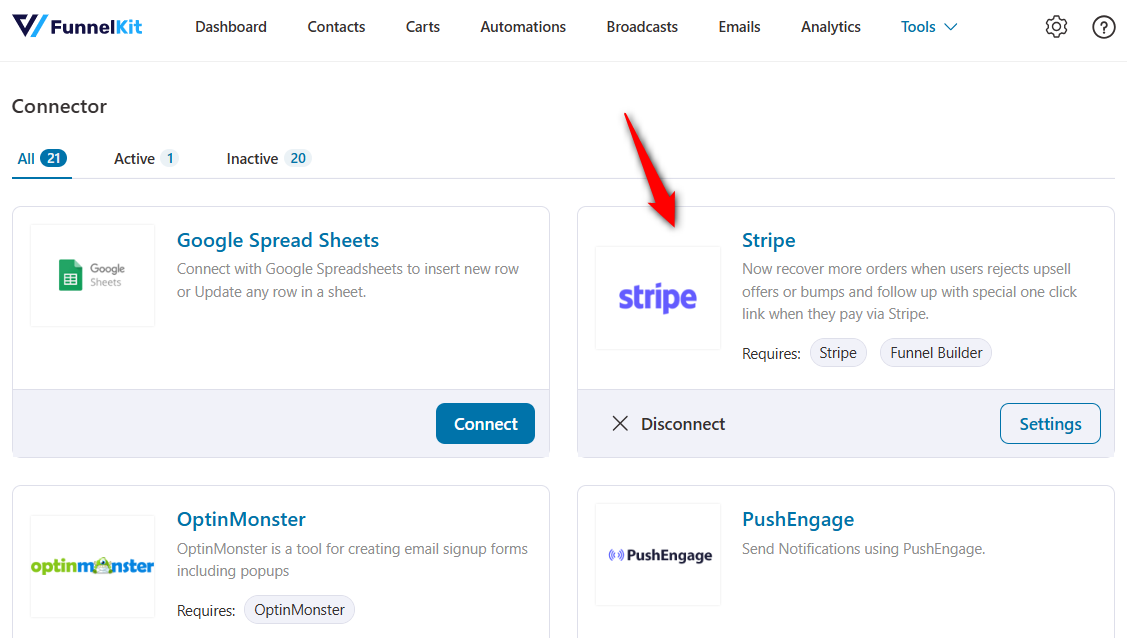
This will connect Stripe to your WooCommerce store.
Step 2: Create a funnel with the upsell offer
Create a funnel for your upsell offers inside FunnelKit Funnel Builder.
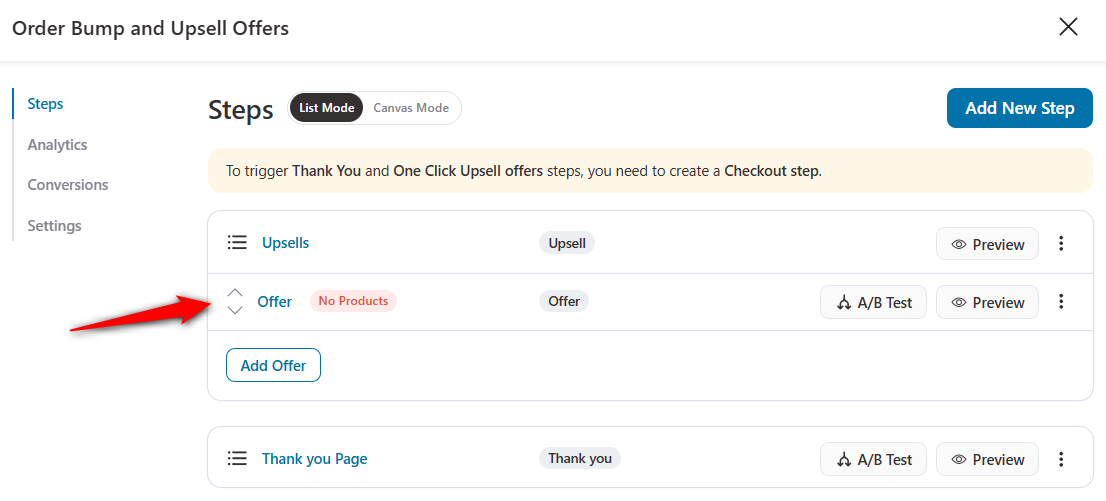
Let’s add the product to our upsell offer.
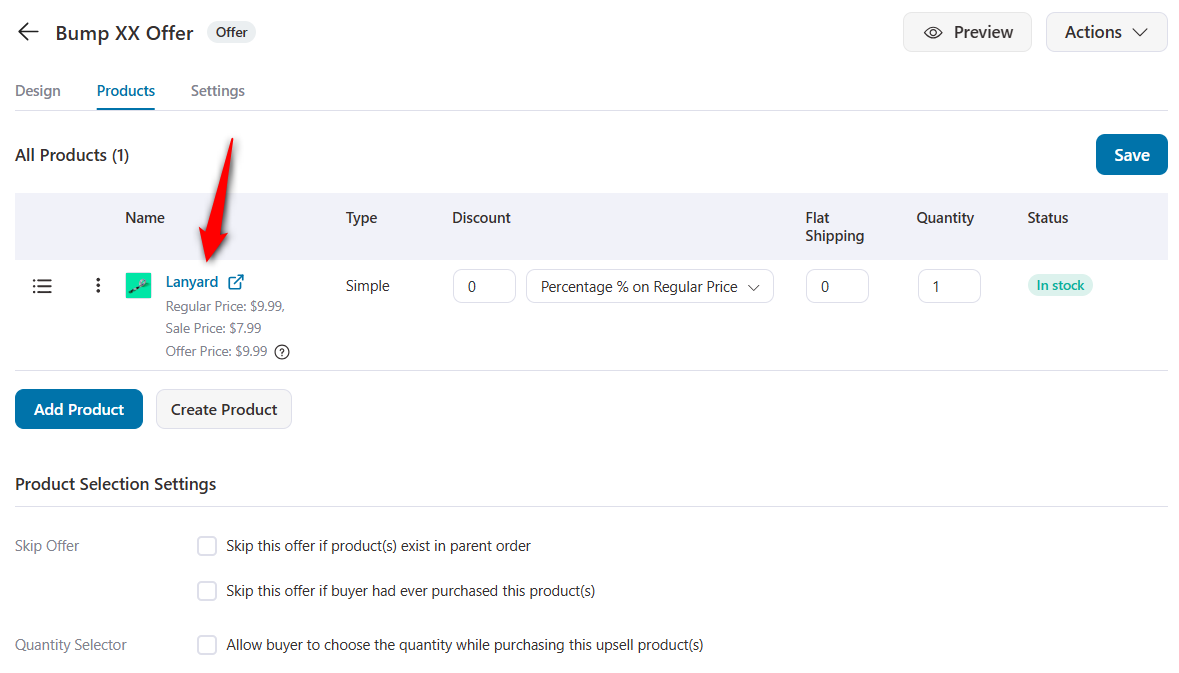
Now our offer has been created, let’s make some quick adjustments:
Click on Save when done.
Step 3: Create an upsell recovery automation
Go to the Automations section in FunnelKit Automations and create a new automation.
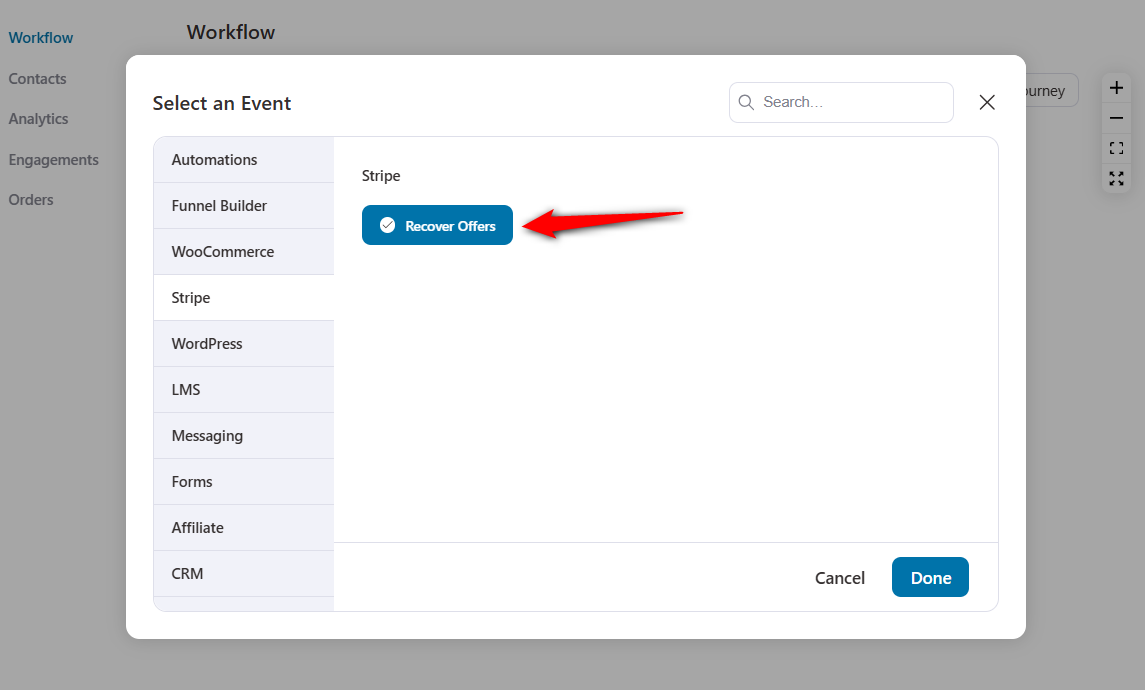
Add the Recover Offers event trigger.
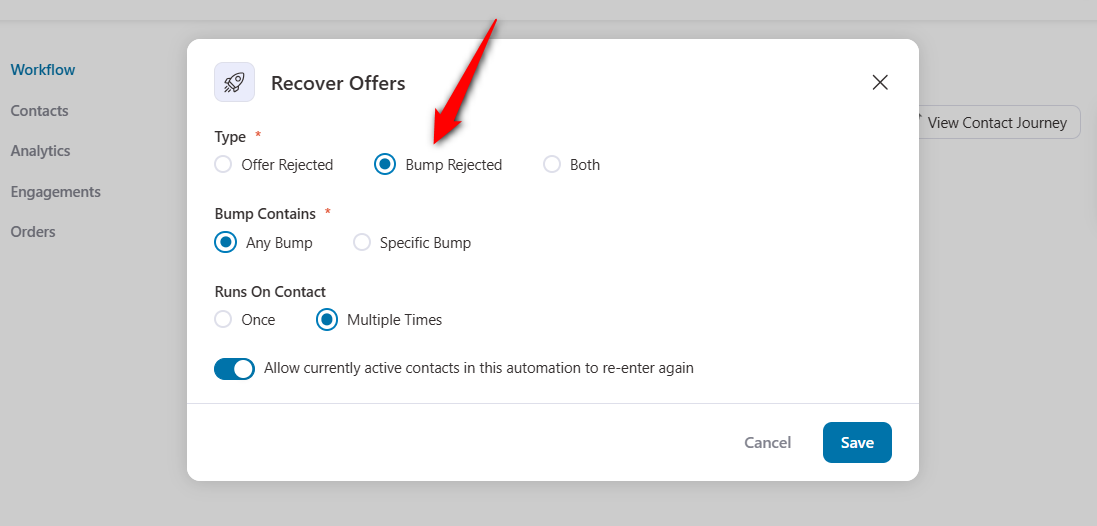
Configure this event.
Type:
- Offer rejected - Trigger this event when a one-click upsell offer gets rejected.
- Bump rejected - Trigger this event when an order bump offer gets rejected.
- Both - Trigger this event when any one-click upsell or order bump gets rejected.
Offer/Bump Contains:
- Any Offer/Bump - Trigger this event when any offer or bump gets rejected.
- Specific Offer/Bump - Trigger this event when a specific offer or bump gets rejected.
Runs On Contact:
- Once - Trigger this automation to run once
- Multiple Times - Trigger this automation to run multiple times
- Allow currently active contacts in this automation to re-enter again
Let’s select Bump Rejected, Any Bump and Runs on Contact multiple times:
Once done, hit the Save button.
Step 4: Create an offer recovery link
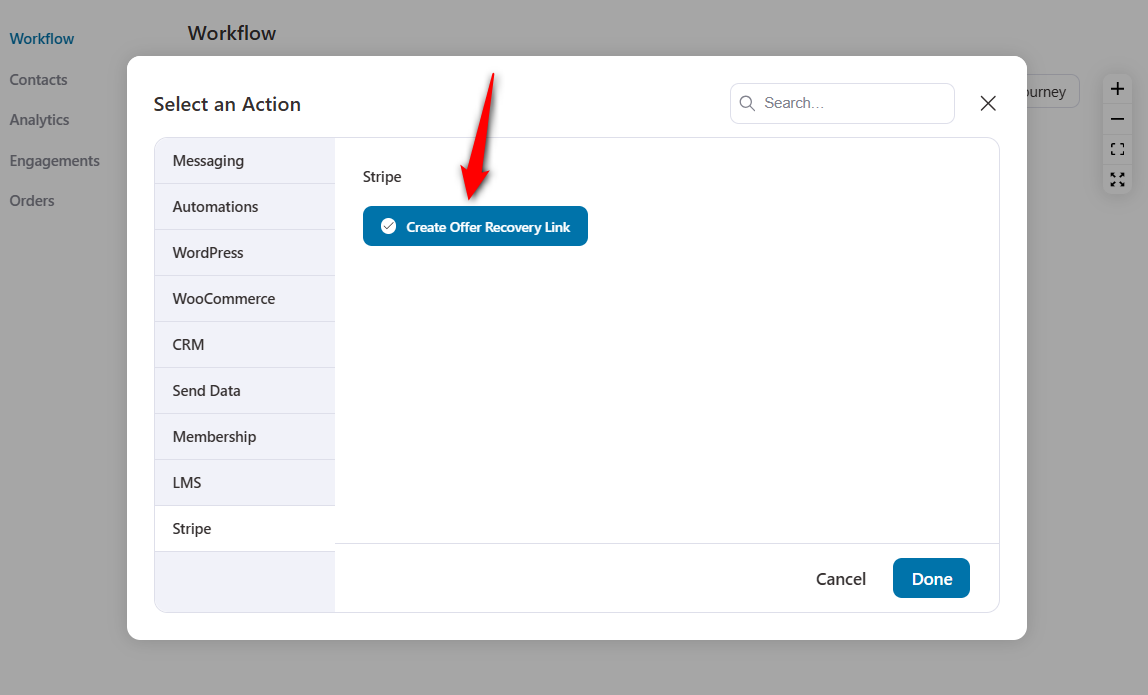
Add the Create Offer Recovery Link action.
Create your offer recovery link by configuring the following fields:
- Upsell offer title - Enter the title of your offers.
- Offer - Specify the offer you created above.
- Link expiry in days - Specify the number of days this link will expire.
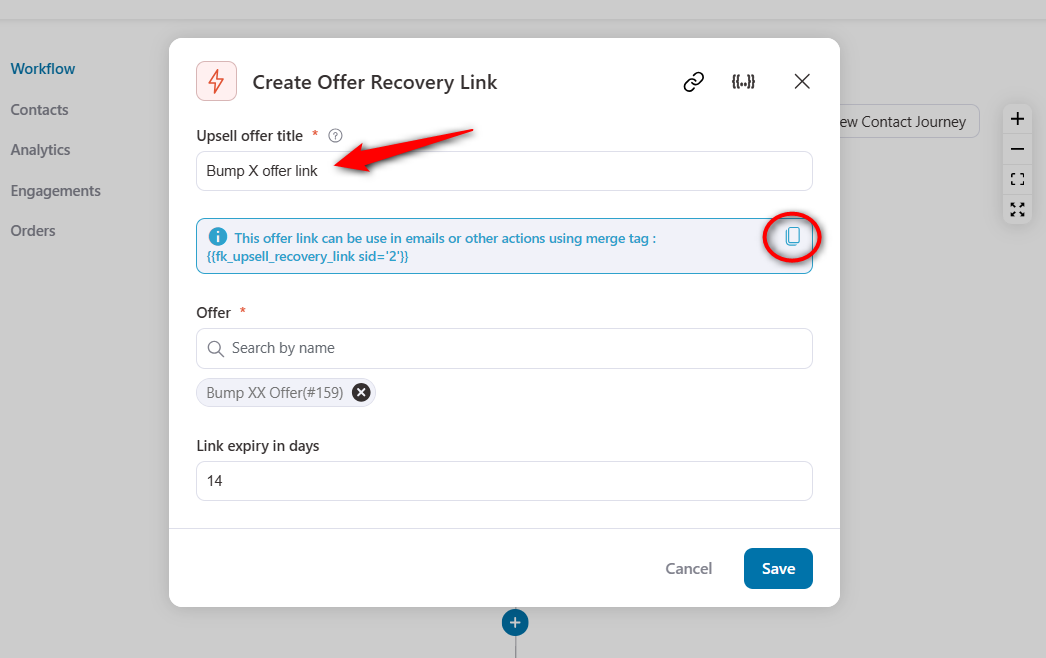
Copy the offer link merge tag.
Step 5: Paste the offer recovery link in your email
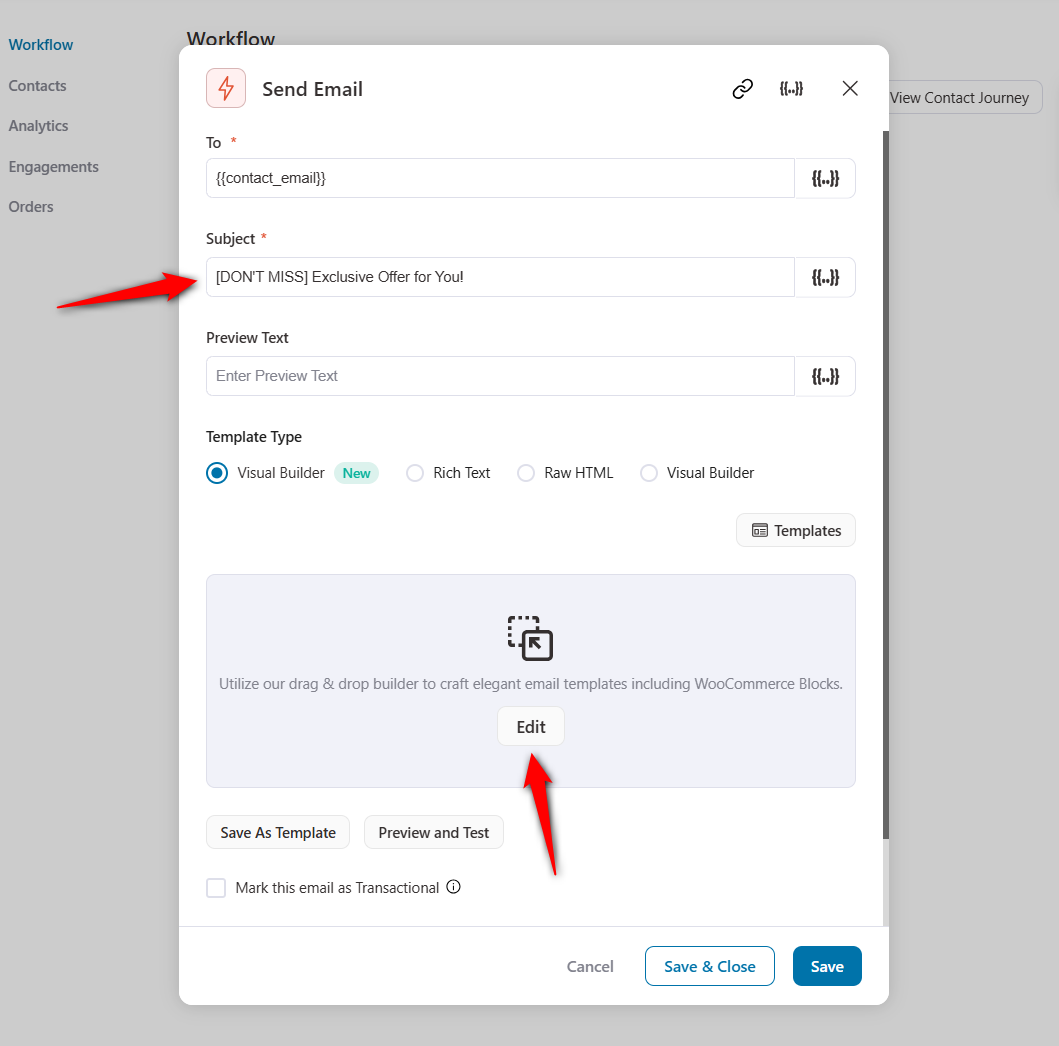
Add the Send Email action.
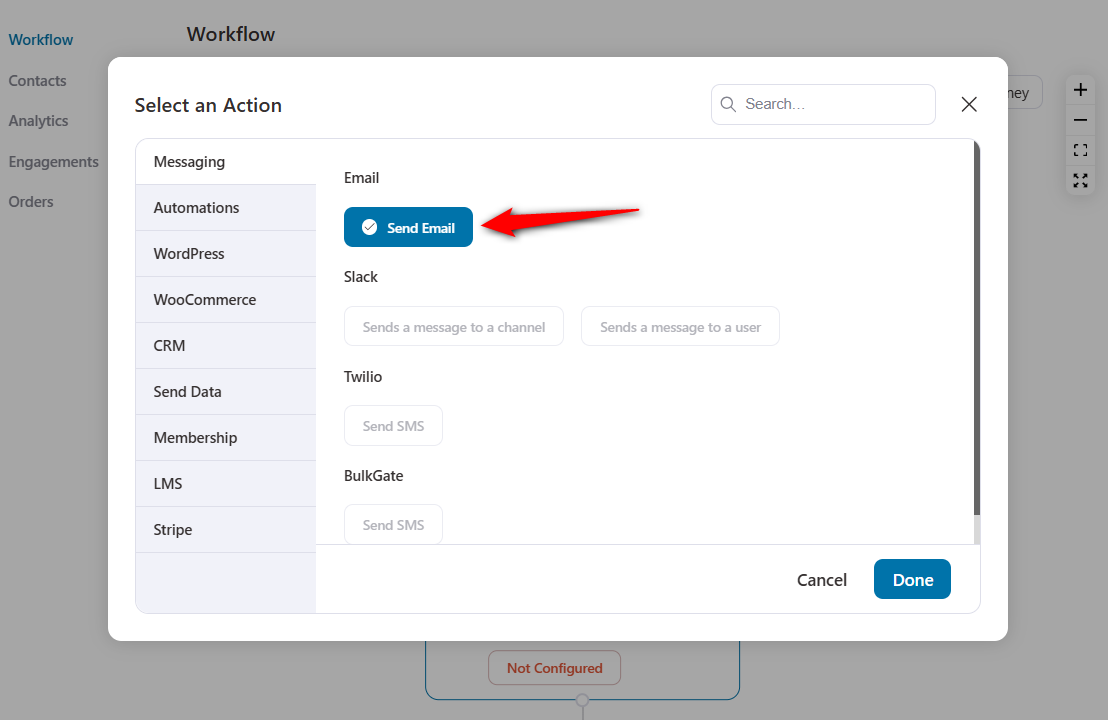
Enter the subject line for your email.
To design your email, select Visual Builder and hit the Edit button.
Learn more about designing your email with Visual Builder.
Customize your email content and paste the offer recovery link into the CTA button of your email.
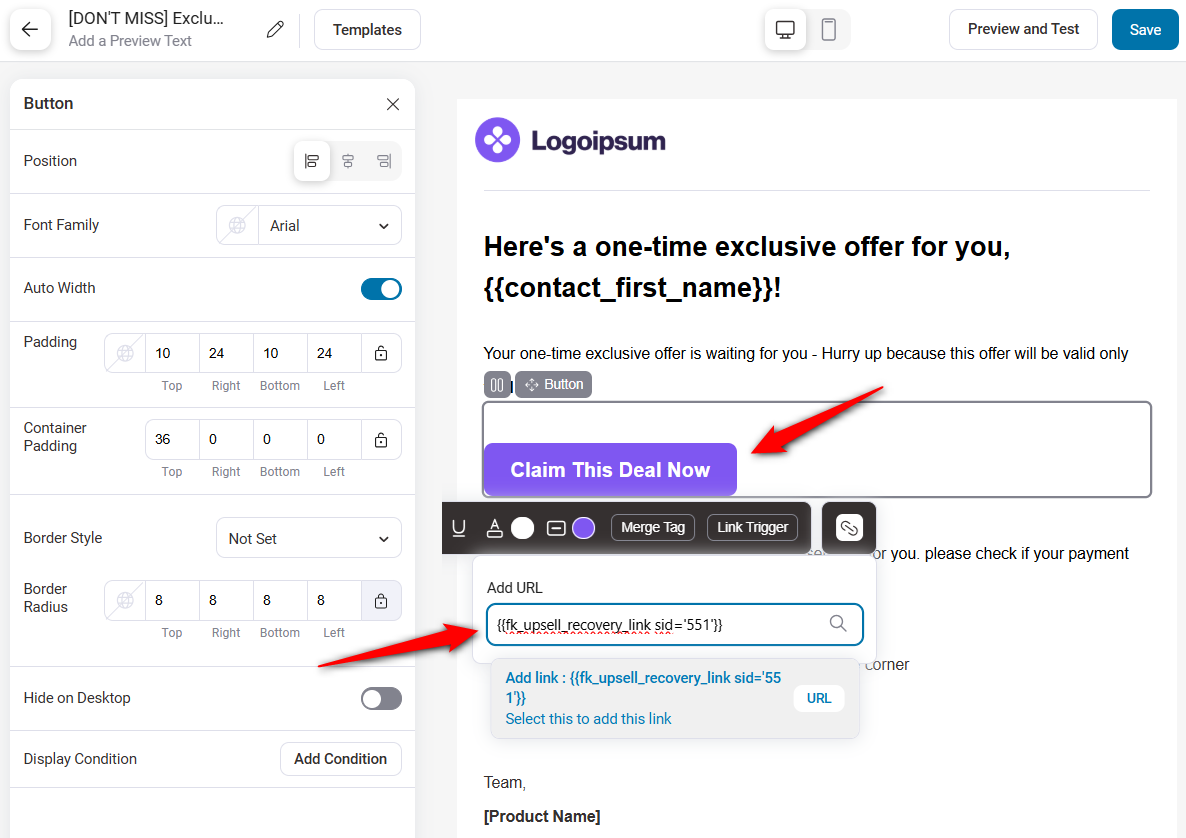
Hit Save when done.
Well done! You’ve successfully created the upsell offer recovery automation.
Testing Order Bump and One-Click Upsell Recovery Feature
When a customer rejects the order bump offer, this automation will be triggered.
You can see the contacts flow inside your automation:
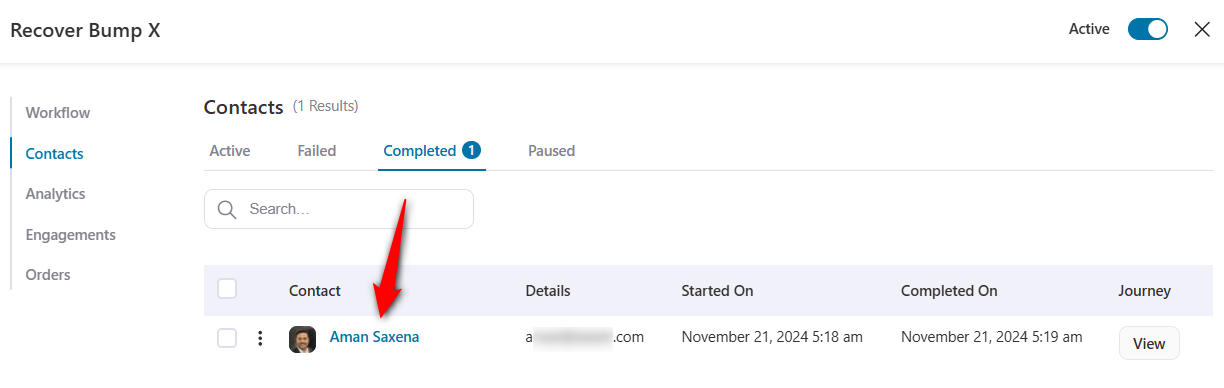
As you can see, the contact has completed this automation.
They’ll receive an offer recovery link inside their email. Upon clicking on that URL, they’ll land on this page:
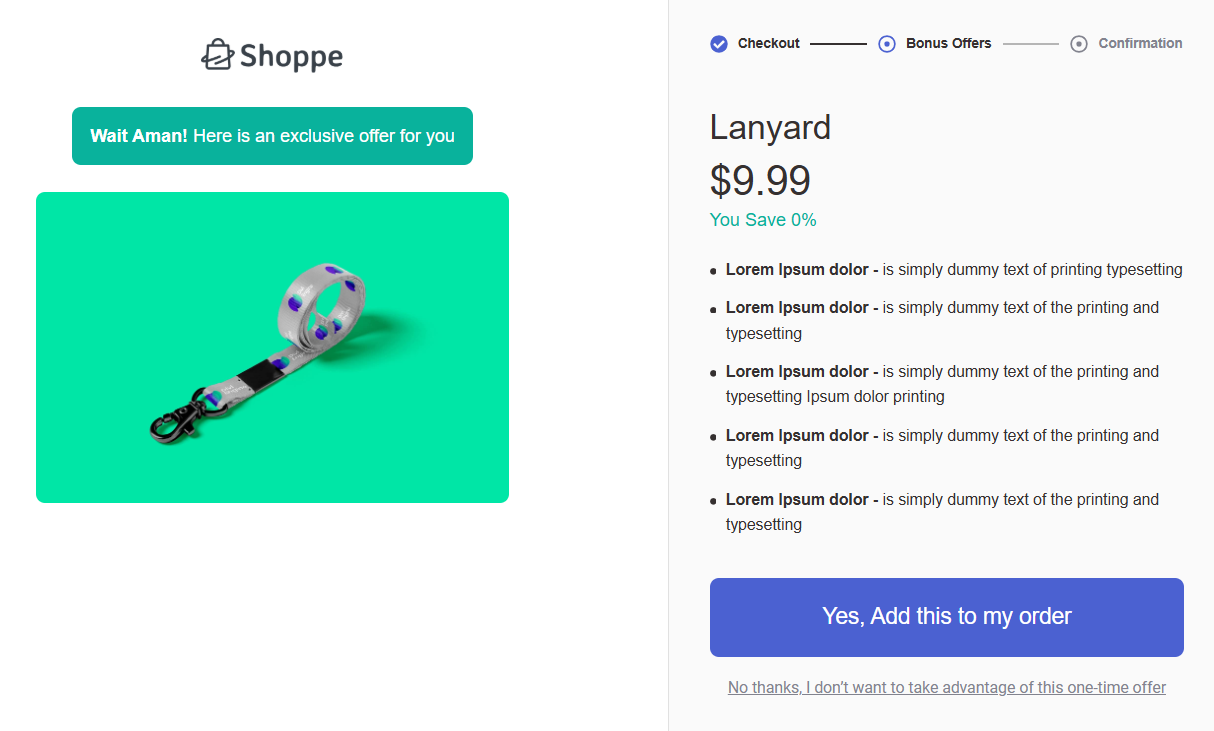
They can accept this offer with a single click - no payment details will be asked.
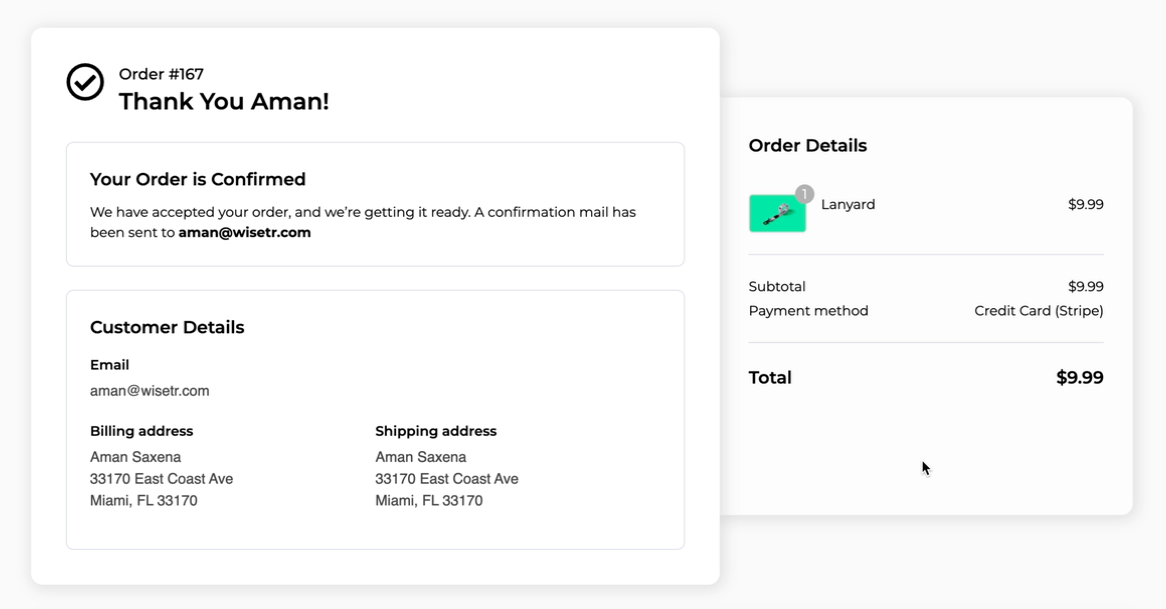
Once they click on the accept button, they’ll be directed to the thank you page:
Go to WooCommerce orders; you’ll see two orders:
1. Original order
2. Stripe upsell recovery order
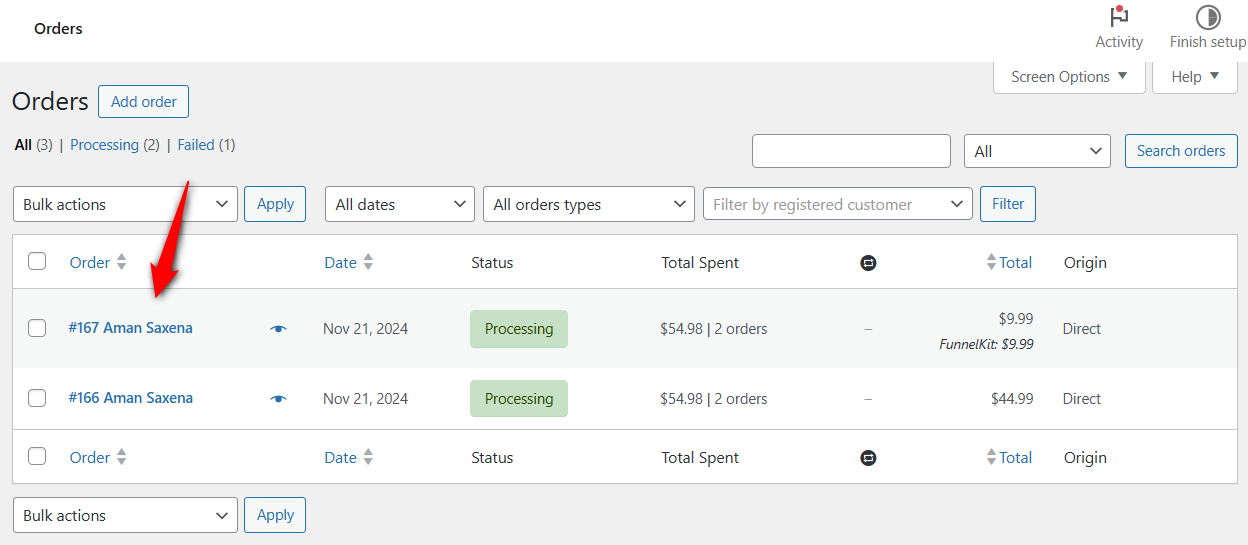
Click on the latest order, and you’ll be able to see the offers:
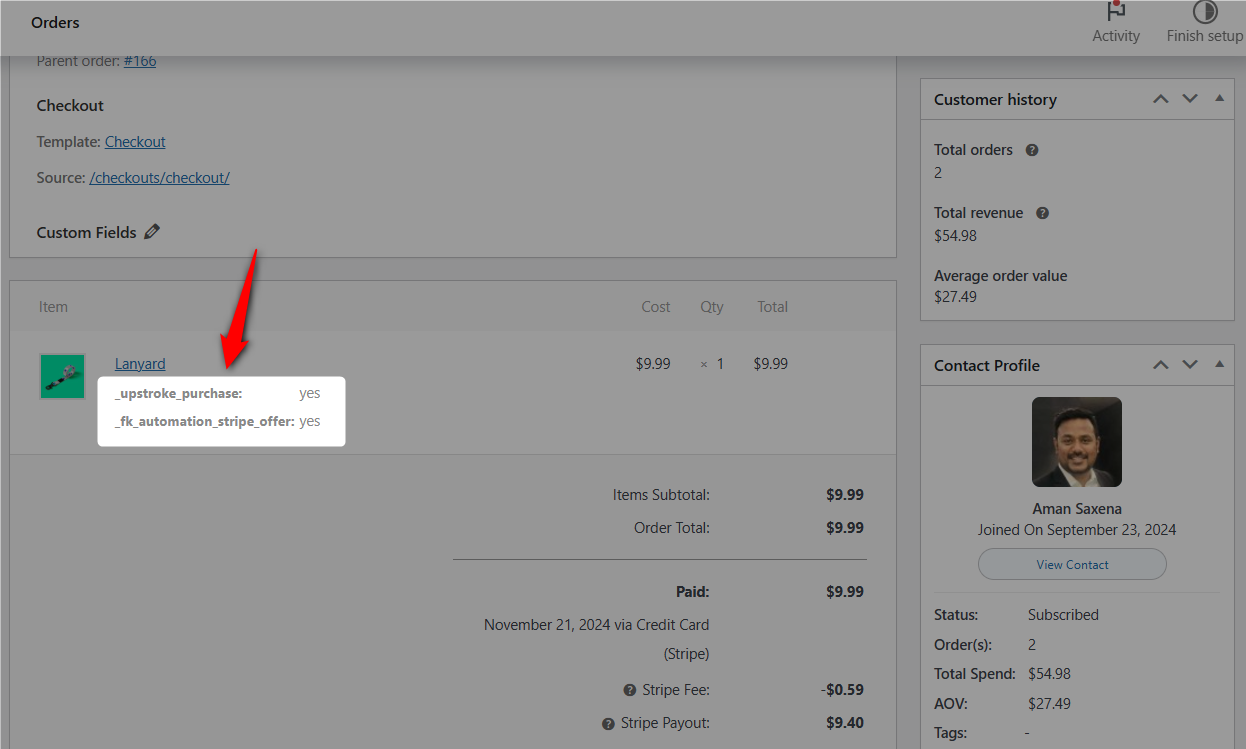
That’s it! This is how the order bump and one-click upsell recovery feature works in FunnelKit Automations.
The post Introducing Order Bump and One-Click Upsell Recovery Feature in FunnelKit Automations appeared first on FunnelKit.